


• (855) 599-7247
  • Find a Dealer

Go back home
Go to Support Page
Go to Account Page

Shop

Air Suspension
Universal Air Springs
Coilovers & Conversion Kits
Replacement Parts
Closeout
Shop All
Air Suspension Kits Vehicle
Need help? Use our configurator to build your full kit!
Build Full Kit
Performance Series Menu Dropdown
The perfect balance between styling and practicality
Explore Performance Series
ALP4 Management
3H/3P Management
Manual Management
Configurator
Customize Your Ride's Control with Our Management Configurator
Configure Your System
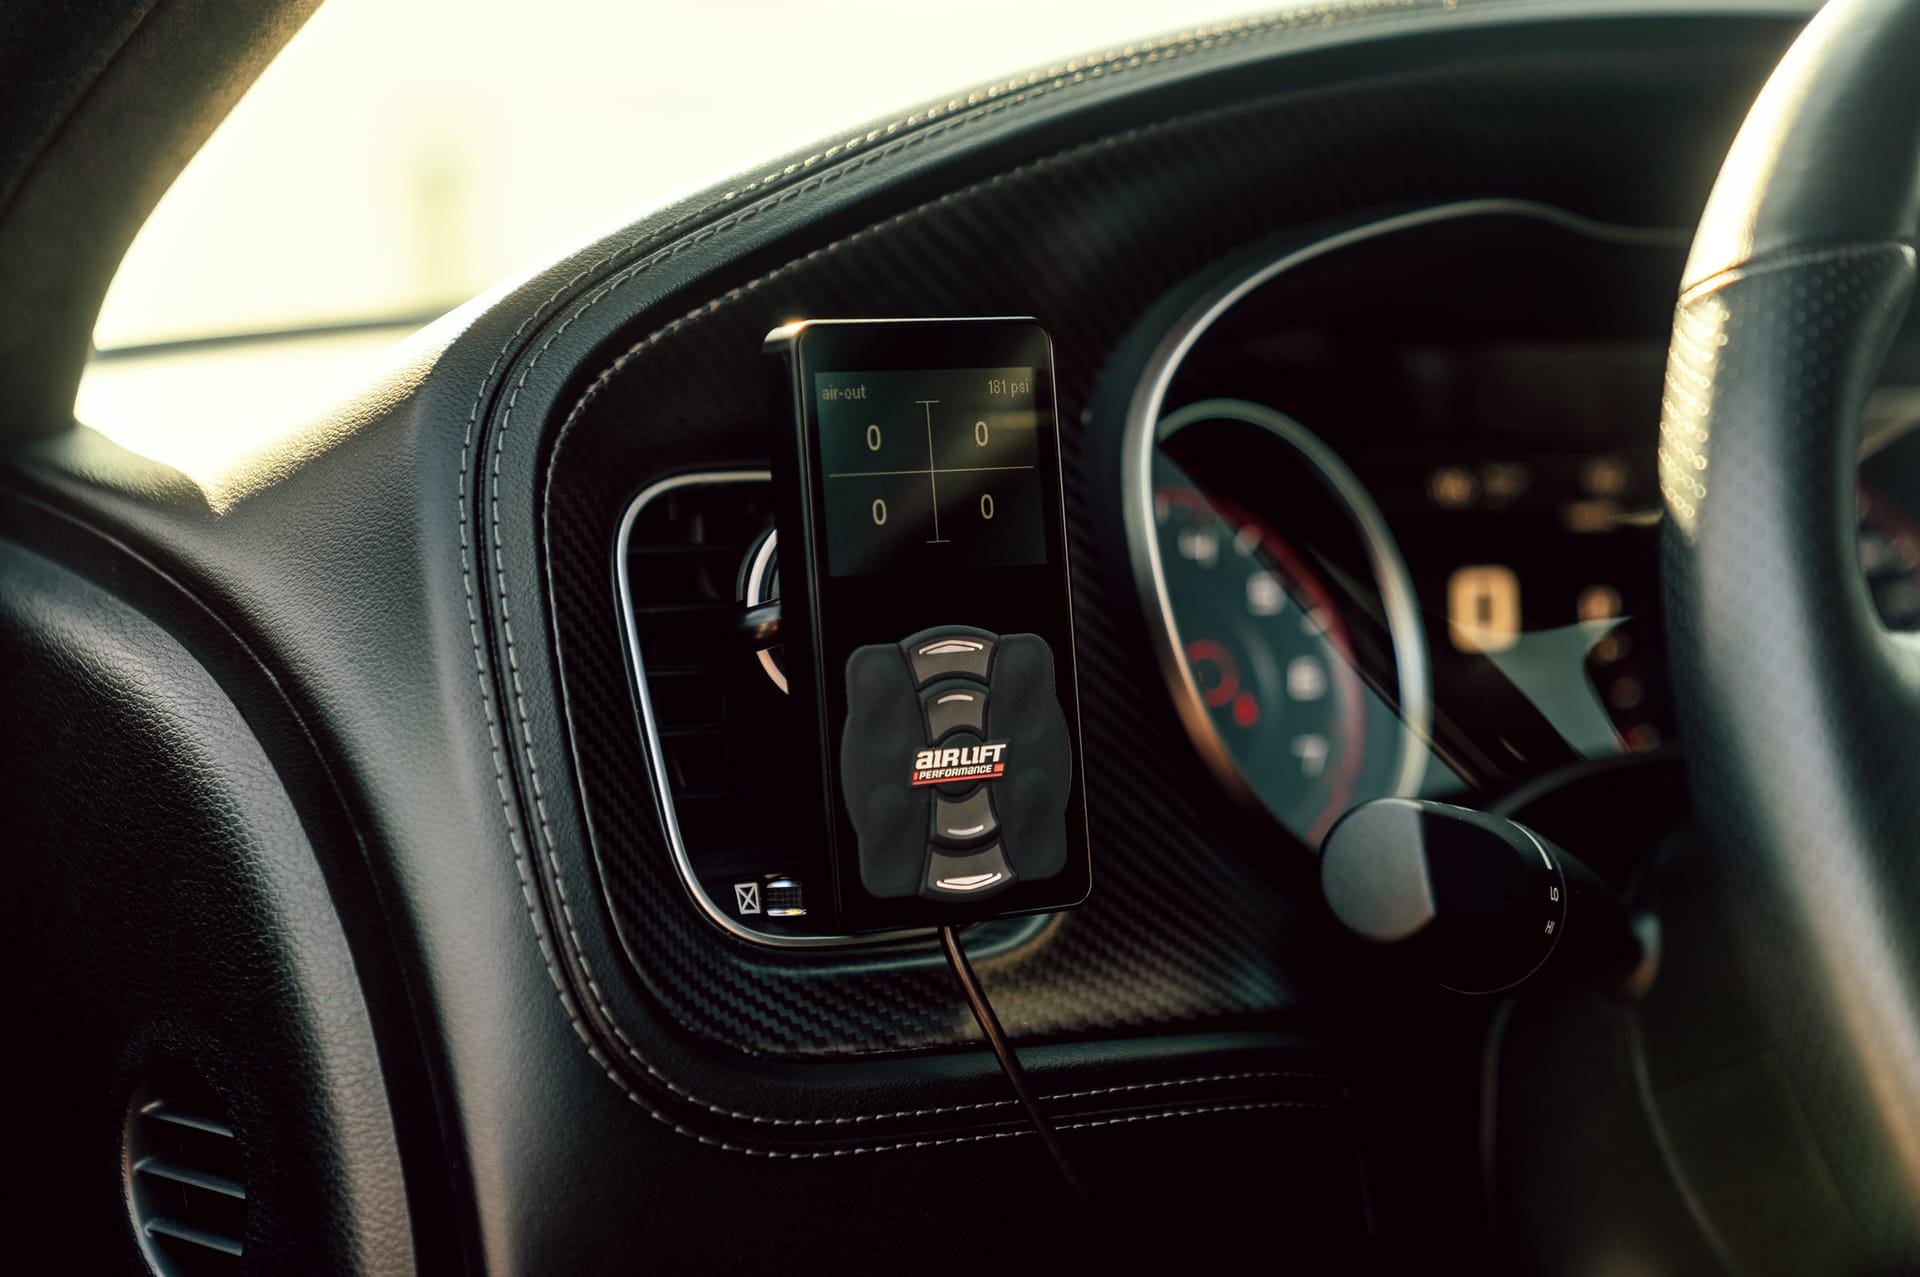
3H/3P Controller in dash
Achieve precise control with air management technology
Explore 3H & 3P Systems
Intro to Air Lift Drop Down Image
Intro to Air Lift

Discover the history and innovation behind Air Lift's industry-leading suspension solutions.

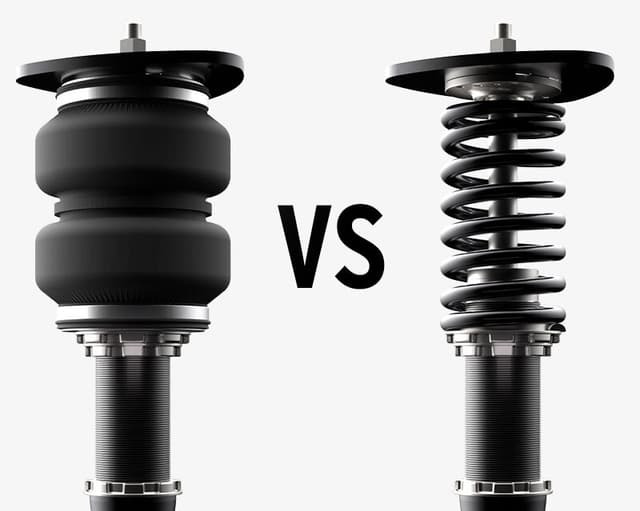
Air bag next to coilover
Air vs. Coilovers

Compare our air suspension and coilovers to find the perfect setup for your build.

FAQs Drop Down Image
FAQs

Find answers to the most common questions about our products and installation.

Blog Drop Down Image
Blog

Explore the latest in air suspension tips, builds, and industry insights.

This manifold is installed incorrectly upside down.

7 Air Suspension Installation Mistakes to Avoid on Your First Build

9/20/2026

There’s nothing quite like seeing your car air out for the first time. But before you get to that moment, there are plenty of details that can make, or break, the finished setup.

A clean air suspension build is about more than picking the right stance. Air-line routing, wiring, bag clearance, moisture management and the right tank and compressor combination all play a role in how reliably the system performs once you're actually driving it.

If you're already comfortable modifying cars but you're taking on your first air suspension build, these are seven mistakes worth avoiding.

1. Starting With Bad Air-Line Connections

Chasing an air leak after the entire system is installed gets old fast. Getting your connections right from the start can save you a lot of troubleshooting later.

Make Clean, Square Cuts

Push-to-connect fittings need a clean, square end on the air line to seal properly. An angled, crushed or rough cut can keep the line from seating correctly and create a leak.

Don't Overdo NPT Fittings

NPT fittings need the appropriate thread sealant and proper installation to create an airtight connection.

PRO TIP: Pressurize the system and leak-check every connection before you button up the install. Finding a leak now is a lot easier than finding it after the trunk setup is finished.


More Recent Articles

VW Golf Rs

Three Volkswagen Golf R Air Suspension Builds in South Africa

BMW F06 Gran Coupe on Air Suspension: Leo’s VIP-Inspired Build

Get The Latest from Air Lift Performance

Want first access to big sale events, performance suspension news, and exclusive drops that sell out quickly?
Subscribe To Our Newsletter
2. Treating Air-Line Routing as an Afterthought

Clean routing isn't just about making the install look good.

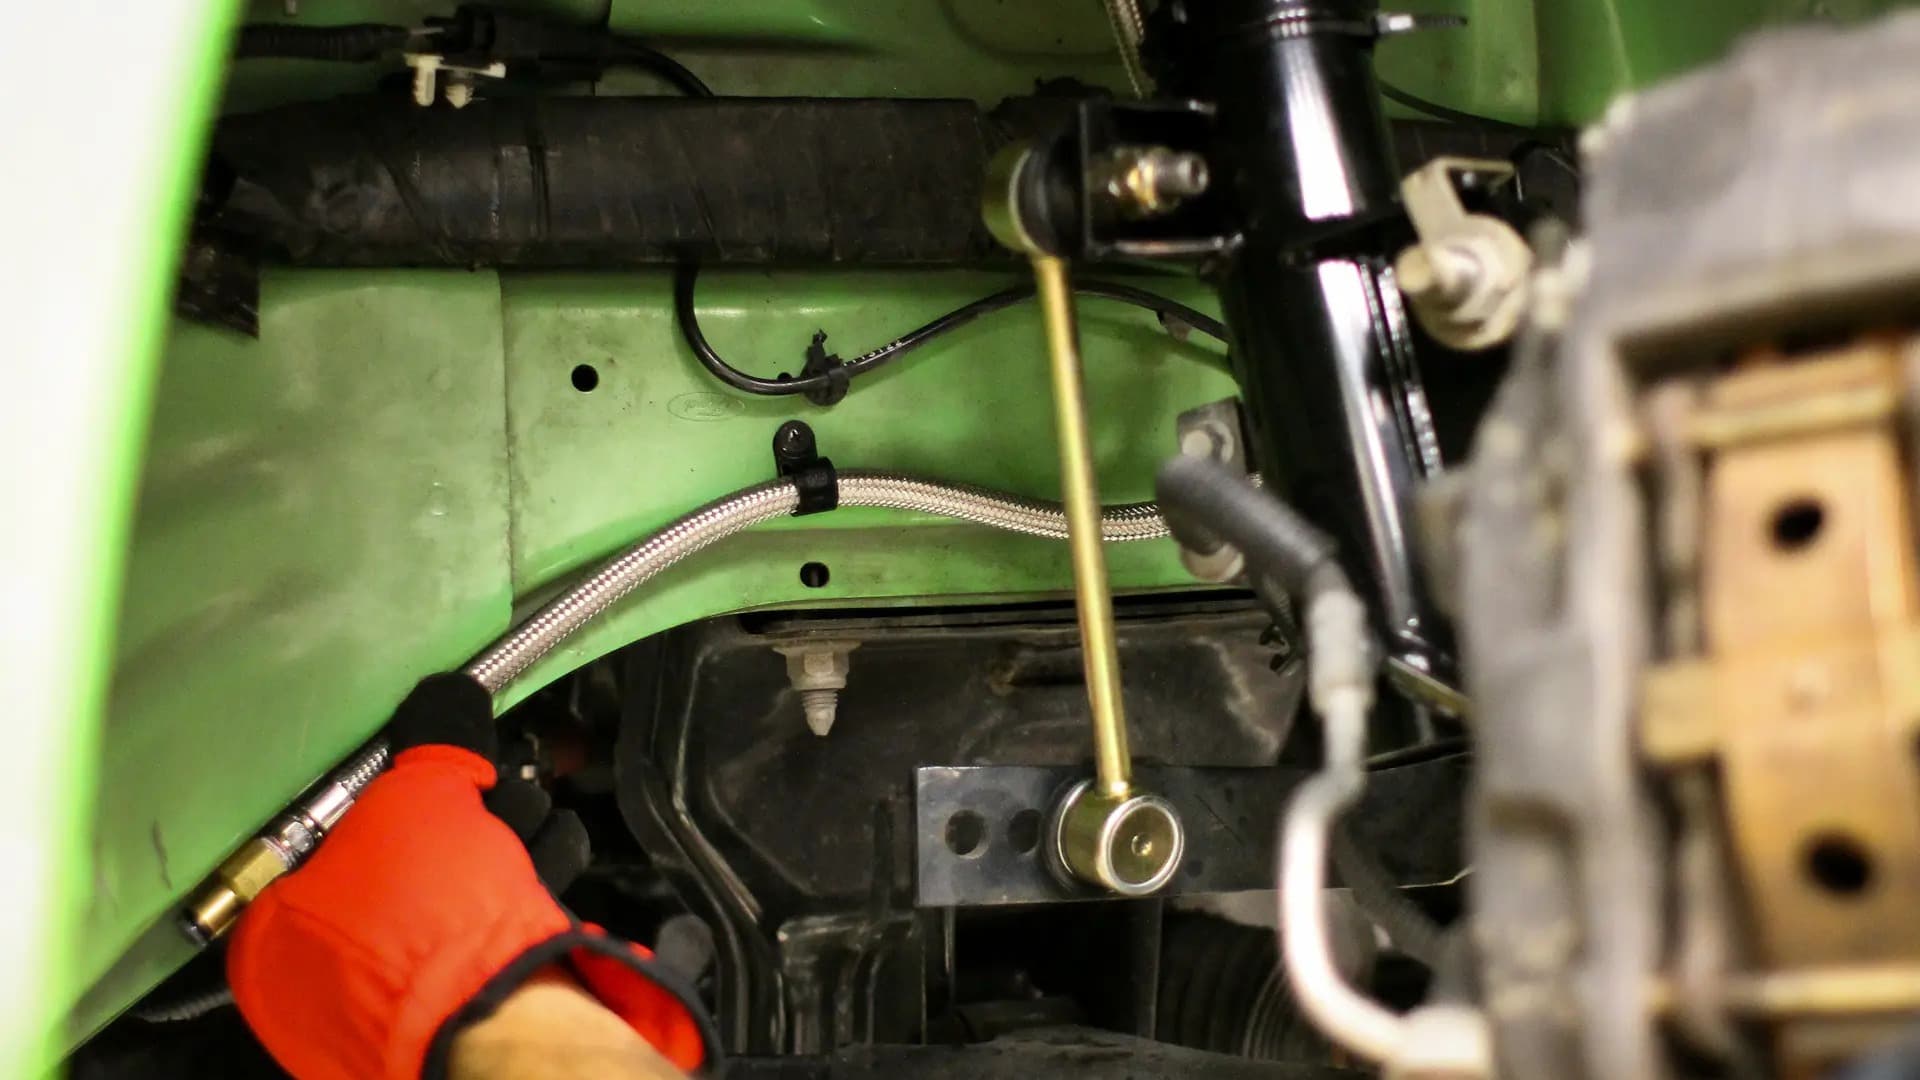
Keep your air lines away from exhaust heat, sharp edges, moving suspension components, pinch points and anywhere road debris can damage them. If a line has to pass through or near metal, protect it appropriately and make sure it can't rub through over time.

3. Letting the Wiring Be the Weak Link

You can have a perfectly mounted tank, clean hard lines and flawless fitment, but bad wiring can still turn the build into a headache.

Solid electrical connections matter. So do proper grounding, circuit protection and routing.

Don't skip the inline fuse or replace it with whatever happens to be sitting in the toolbox. The fuse is there to protect the wiring and components if something starts pulling more current than it should.

And make sure your ignition source is actually an ignition source.

A proper switched source should behave the way the system expects when the vehicle is turned on and off. Grab the wrong circuit and you can end up with a system that stays powered when it shouldn't—or only comes alive when some unrelated vehicle function is activated.

However you approach the electrical side of the build, don't let the wiring be the afterthought of an otherwise dialed install.

4. Not Checking Air Spring Clearance Through the Full Range

The car is modified. Things move.

Checking air spring clearance at one suspension position isn't enough.

Pay particular attention if the car has aggressive wheel and tire fitment or other suspension modifications.

What clears perfectly at ride height may be a very different story aired out, at full extension or with the wheel turned.

5. Ignoring Moisture Until It Becomes a Problem

Moisture is part of dealing with compressed air. Planning for it from the start is much easier than dealing with it after it starts affecting the system.

And if the car sees cold weather, moisture management becomes even more important. Water in the system can freeze when temperatures drop and interfere with normal operation.

Build drainage and moisture management into the setup from day one. Check the trap, drain the tank as required and don't wait until there's a problem to remember they're there.

6. Building the Wrong Air Supply for the Car

A bigger tank doesn't automatically make a better air suspension setup. Neither does throwing another compressor at the car just because you have room for one.

The tank and compressor combination should match how you actually use the system.

Think about:

A larger tank gives you more stored air, but that air still needs to be replaced. Increase tank volume without enough compressor capacity and you'll spend more time waiting for the system to recover.

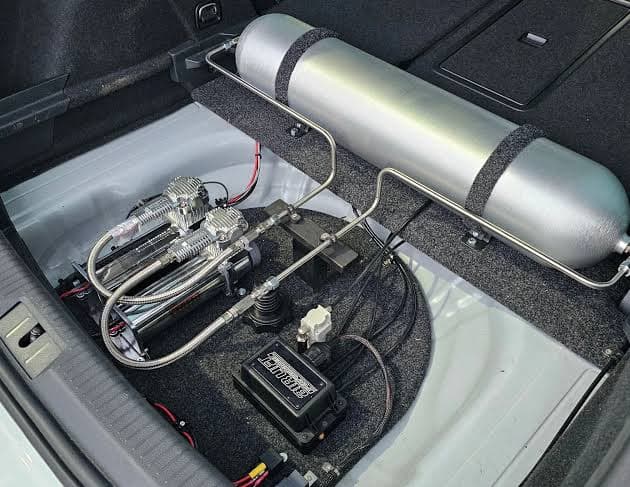
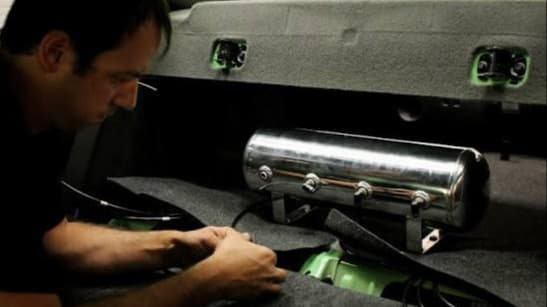
For example, a four-gallon tank may benefit from a dual-compressor setup when quicker recovery and greater available air are priorities.

The goal isn't to build the biggest air supply possible. It's to build the right one for the car.

And if the trunk setup is part of the build, packaging matters too. Tank orientation, compressor placement, line routing and access for maintenance should all be part of the plan, not decisions made after everything else is installed.

7. Treating Every Height Like a Driving Height

One of the best parts of air suspension is having options.

You can air it out when you're parked, bring it up when you need clearance and set the car where you want it when you're driving.

But just because the suspension can reach a height doesn't mean that's where you should drive it.

Don't Cruise at Full Extension

Driving at maximum suspension extension leaves little available extension travel. That can make the car ride unnecessarily stiff and put additional stress on suspension components.

Learn More About ALP4

And Look Before You Air Out

You've been waiting all day to park it and put it on the ground. Give yourself another five seconds.

Before You Power Up Your Air Suspension for the First Time

Check your air-line routing and fittings. Verify the wiring, grounds and fuses. Check air spring clearance throughout the suspension's usable range. Make sure the tank, compressor and management are securely mounted. Verify the water trap is in the right location and confirm nothing can contact a moving suspension component.

Then pressurize the system, check for leaks and follow the setup or calibration procedure for your air management system.

Once everything checks out, cycle the suspension and inspect it again.

Then enjoy the moment.

A Clean Air Suspension Build Is More Than a Clean Trunk

It's easy to focus on the parts everyone sees.

The tank layout. Hard lines. Compressor placement. Controller. Wheels sitting exactly where you wanted them when the car is aired out.

But some of the most important parts of a good air suspension installation are the details nobody notices when they're done correctly.

Clean cuts. Smart routing. Solid electrical connections. Proper clearance. Moisture management. The right air supply. A usable driving height.

Those are the details that help turn a good-looking air suspension build into one you actually enjoy driving.

Whether you're planning your first setup or already have parts sitting in the garage, start with components designed for your vehicle and build the complete system around how you want to use the car.

Shop My Vehicle

Air Suspension Installation FAQs

What causes an air suspension system to leak?

Improperly cut air lines, tension at push-to-connect fittings and incorrectly installed threaded fittings are common sources of leaks. Start with clean, square air-line cuts and properly installed fittings, then leak-check the complete system once it's pressurized.

How much clearance does an air spring need?

Air Lift Performance recommends maintaining at least 1/2 inch of clearance around the air spring. Check clearance throughout the suspension's usable range, not just at normal ride height.

Where should the water trap go in an air suspension system?

Install the water trap between the air tank and manifold. This helps prevent moisture that collects in the tank from making its way into the manifold.

Do I need two compressors for air suspension?

Not necessarily. Your compressor setup should match your tank volume, desired recovery time, available space and how frequently you use the system. Larger tanks and high-use setups may benefit from additional compressor capacity.

Can you drive a car fully aired up?

Maximum suspension extension generally isn't an appropriate driving height. At full extension, available suspension travel is limited and ride quality can suffer. Establish a proper driving height that leaves room for the suspension to work.

Can I drive my car fully aired out?

Aired-out height is generally intended for parking/show use rather than normal driving. Your appropriate driving height depends on the vehicle, suspension setup, wheel and tire fitment, and available suspension travel.

Is air suspension only for stance?

No. Ride-height adjustability certainly makes stance one of air suspension's biggest attractions, but a properly designed performance air suspension system is also built to be driven. The setup, installation and driving height all play a role in how the car performs on the road.

Build It Right. Then Enjoy It.

Your first air suspension build is going to teach you a few things. It doesn't have to teach them through leaks, damaged air lines or hours spent chasing an electrical problem.

Plan the system. Take your time with the details. Check your work before you power it up.

Then set your driving height, save the preset and go enjoy the car.

Drive it. Show it. Air it out.

Shop My Vehicle
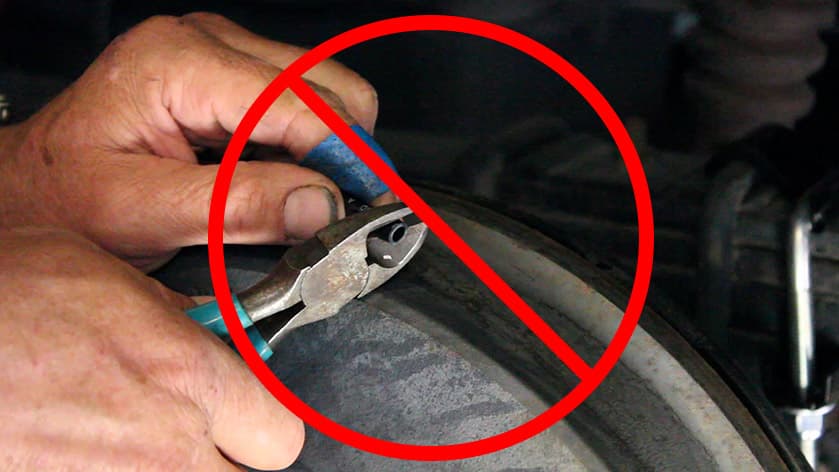
no wire cutters

Use a proper air-line cutter, make a clean 90-degree cut and fully seat the line in the fitting.

And give the connection some room. A tight bend immediately after the fitting puts unnecessary tension on the connection and can contribute to leaks.

air line installation

That doesn't mean tightening them as far as they'll go.

Too loose and you've got a leak. Too tight and you risk damaging the fitting or the component it's threaded into. Follow the instructions and torque requirements for the components you're installing.

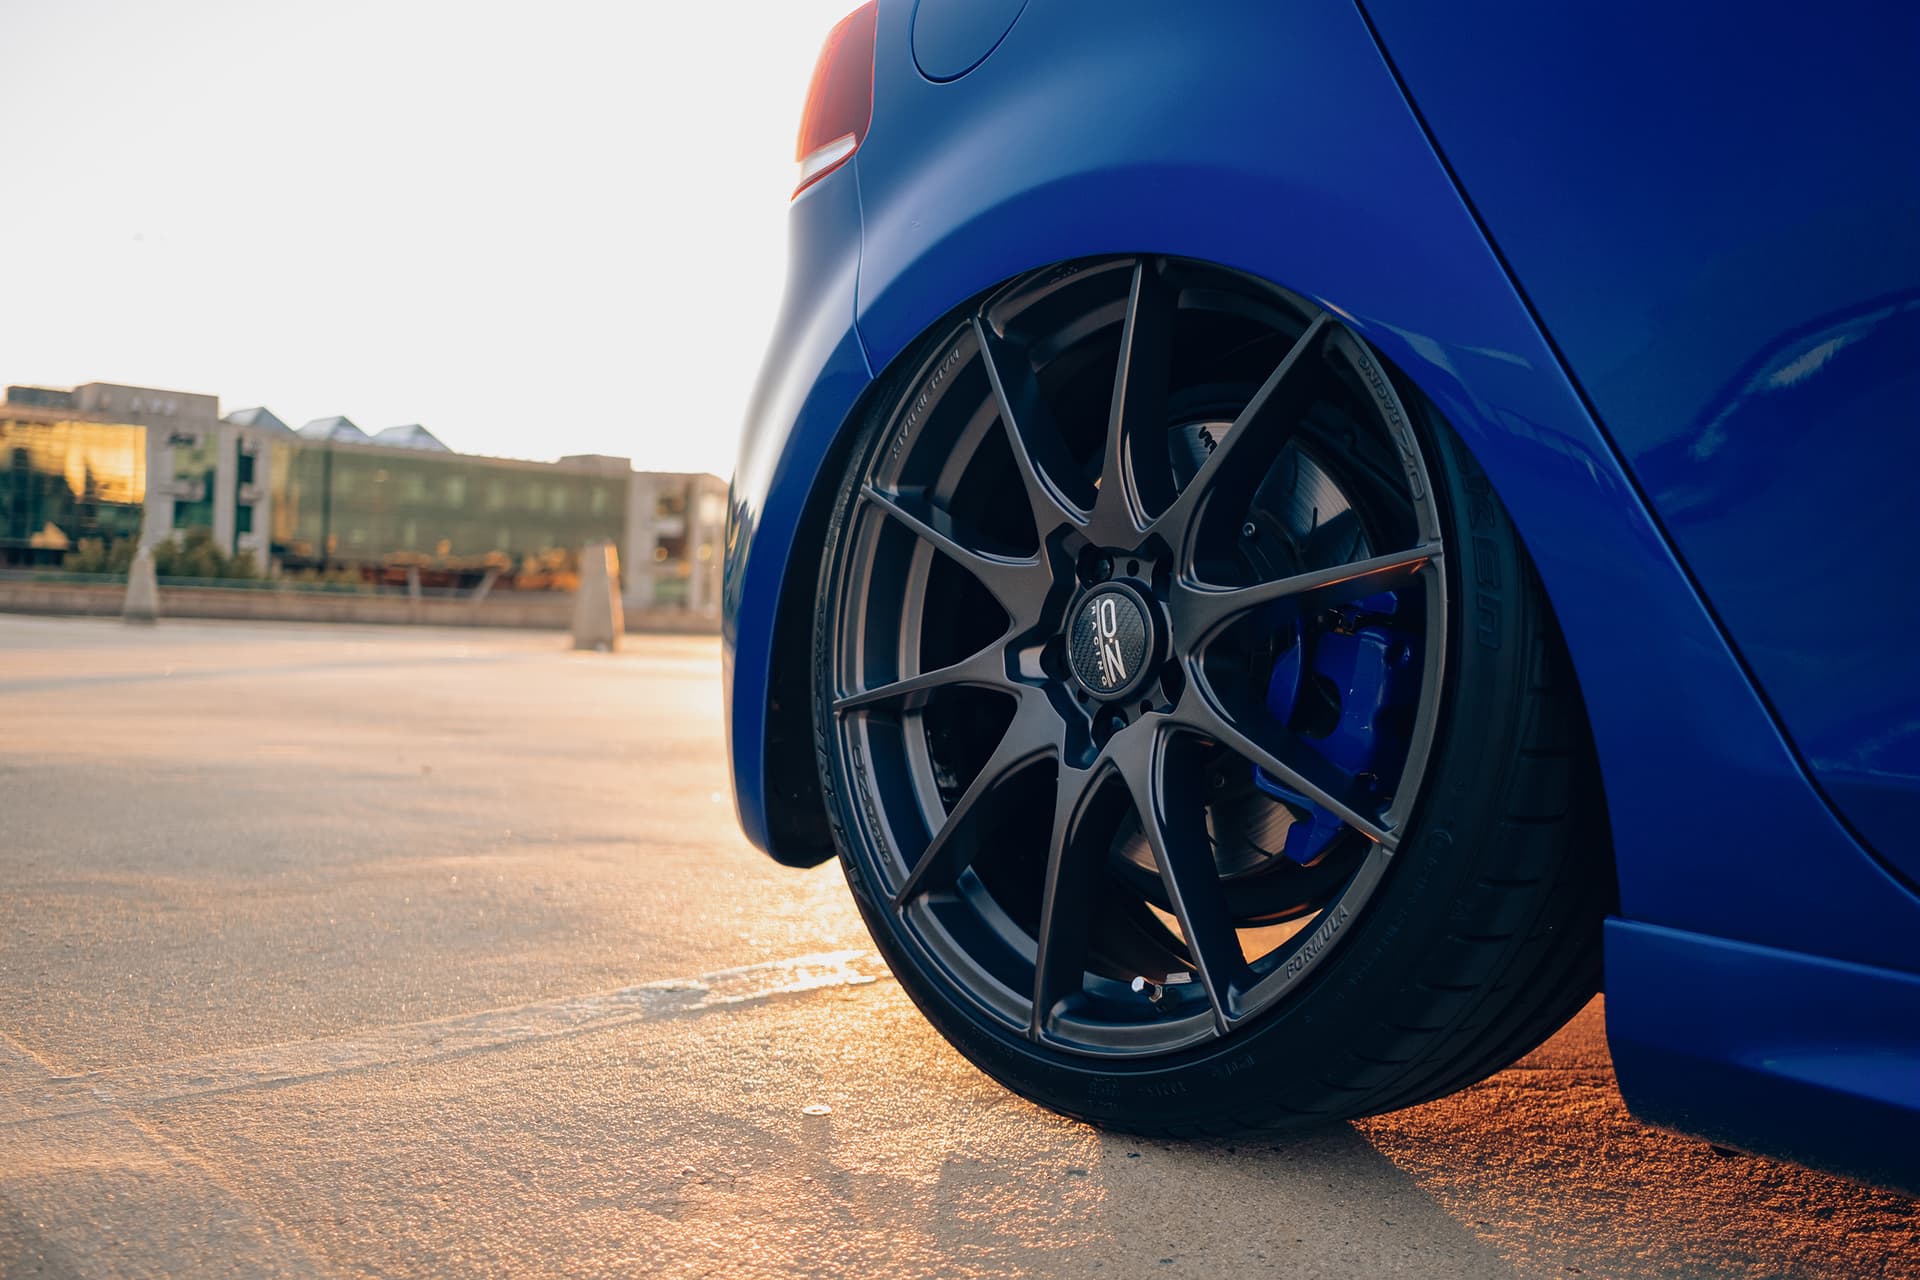
Air Lift Performance Around The World South Africa - VW Golf R trio stance

Air Lift Performance recommends maintaining at least 1/2 inch of clearance around the air spring, roughly a finger-width gap. But the important part is making sure that clearance remains as the suspension moves.

Cycle the suspension through its usable range. Turn the wheels through the steering range where applicable. Look at everything around the air spring and make sure nothing can rub, pinch or contact it.

install

Your water trap should be installed between the tank and manifold to help keep collected moisture from reaching the manifold.

Putting the trap only between the compressor and tank misses moisture that can collect inside the tank itself.

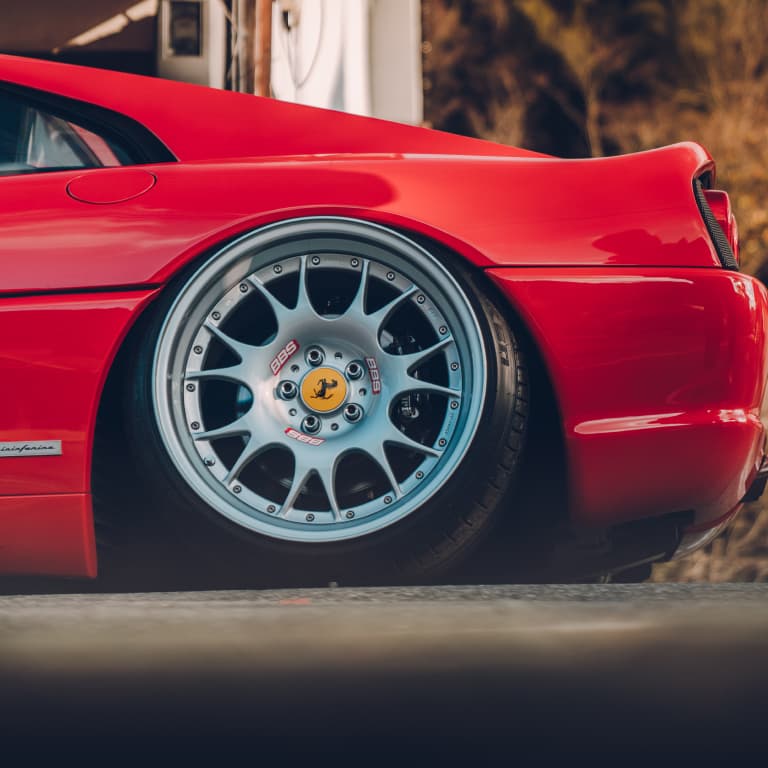
Slammed Red Vehicle

Before you air out, make sure the surface is suitable, nothing is underneath the car and your wheel position isn't going to create an expensive introduction between the tire and fender.

That matters even more with aggressive fitment.

Know how your particular car moves through its range and where everything ends up at full drop.

Your front lip will appreciate it.

air line routing

You've mounted everything. The lines are run. Wiring is finished. You're ready to see it move.

Give the build one more look first.

air line routing

Plan the route before you start locking everything down.

That matters underneath the car, but it matters in the trunk too. A clean tank and management setup can lose its impact pretty quickly when the air lines look like they were routed five minutes before the show.

Take the extra time. Make it work well and look intentional.

Karma Porsche 987 - rolling rear shot

Instead, establish a proper driving height that gives the suspension room to work.

Modern air management makes that easy. With ALP4, programmable presets let you save your preferred heights so you can return to your normal driving setup without trying to recreate it every time.

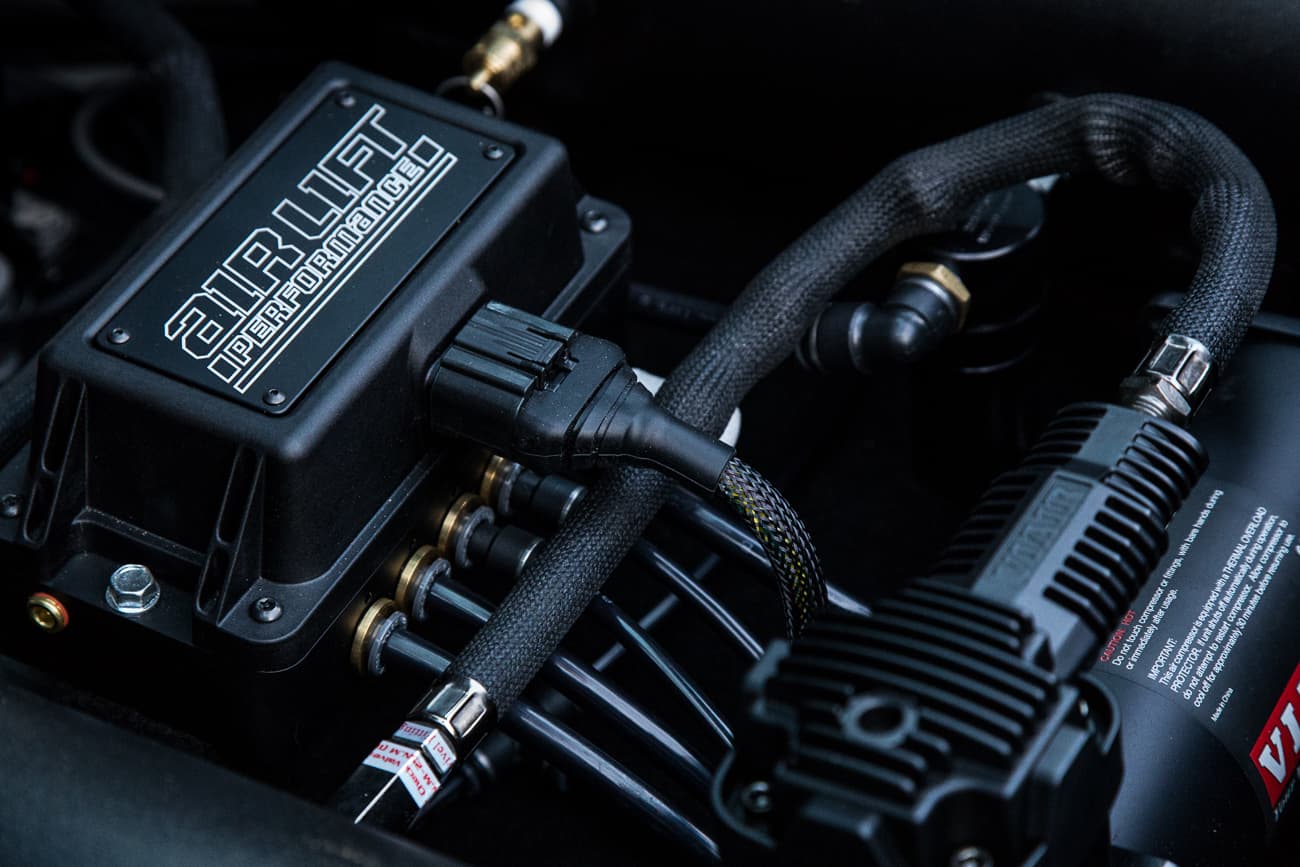
Image of 3H control system manifold with black VIAR compressor

  • How often you change ride height
  • How quickly you want the tank to recover
  • How much reserve air you want available
  • How much room you have for the setup
  • Whether packaging, appearance or both are priorities
  • Shop
    • Shop All
    • Air Suspension
    • Air Management
    • Search Your Vehicle
    • Parts and Pieces
    • Merch/Swag
    • Closeout
  • Support
    • Get Support
    • Installation Manuals
    • Warranty
    • Warranty Registration
    • Warranty Claim
    • Contact Us
    • FAQs
    • Troubleshooting
  • Company
    • About
    • Testimonials
    • Careers
    • Terms of Service
    • Return Policy
    • Privacy Policy
  • Shipping Policy
  • Ambassador Program
  • Affiliate Program
  • Air Lift Company
  • Dealer & Installers
    • Find a Dealer
    • Become a Dealer
    • Dealer Portal Login
    • Unauthorized Dealers
    Go to Air Lift Performance homepage

    © 2026 Air Lift Performance. All rights reserved.

    #lifeonair
    Follow Us